Media Library and Image Viewer
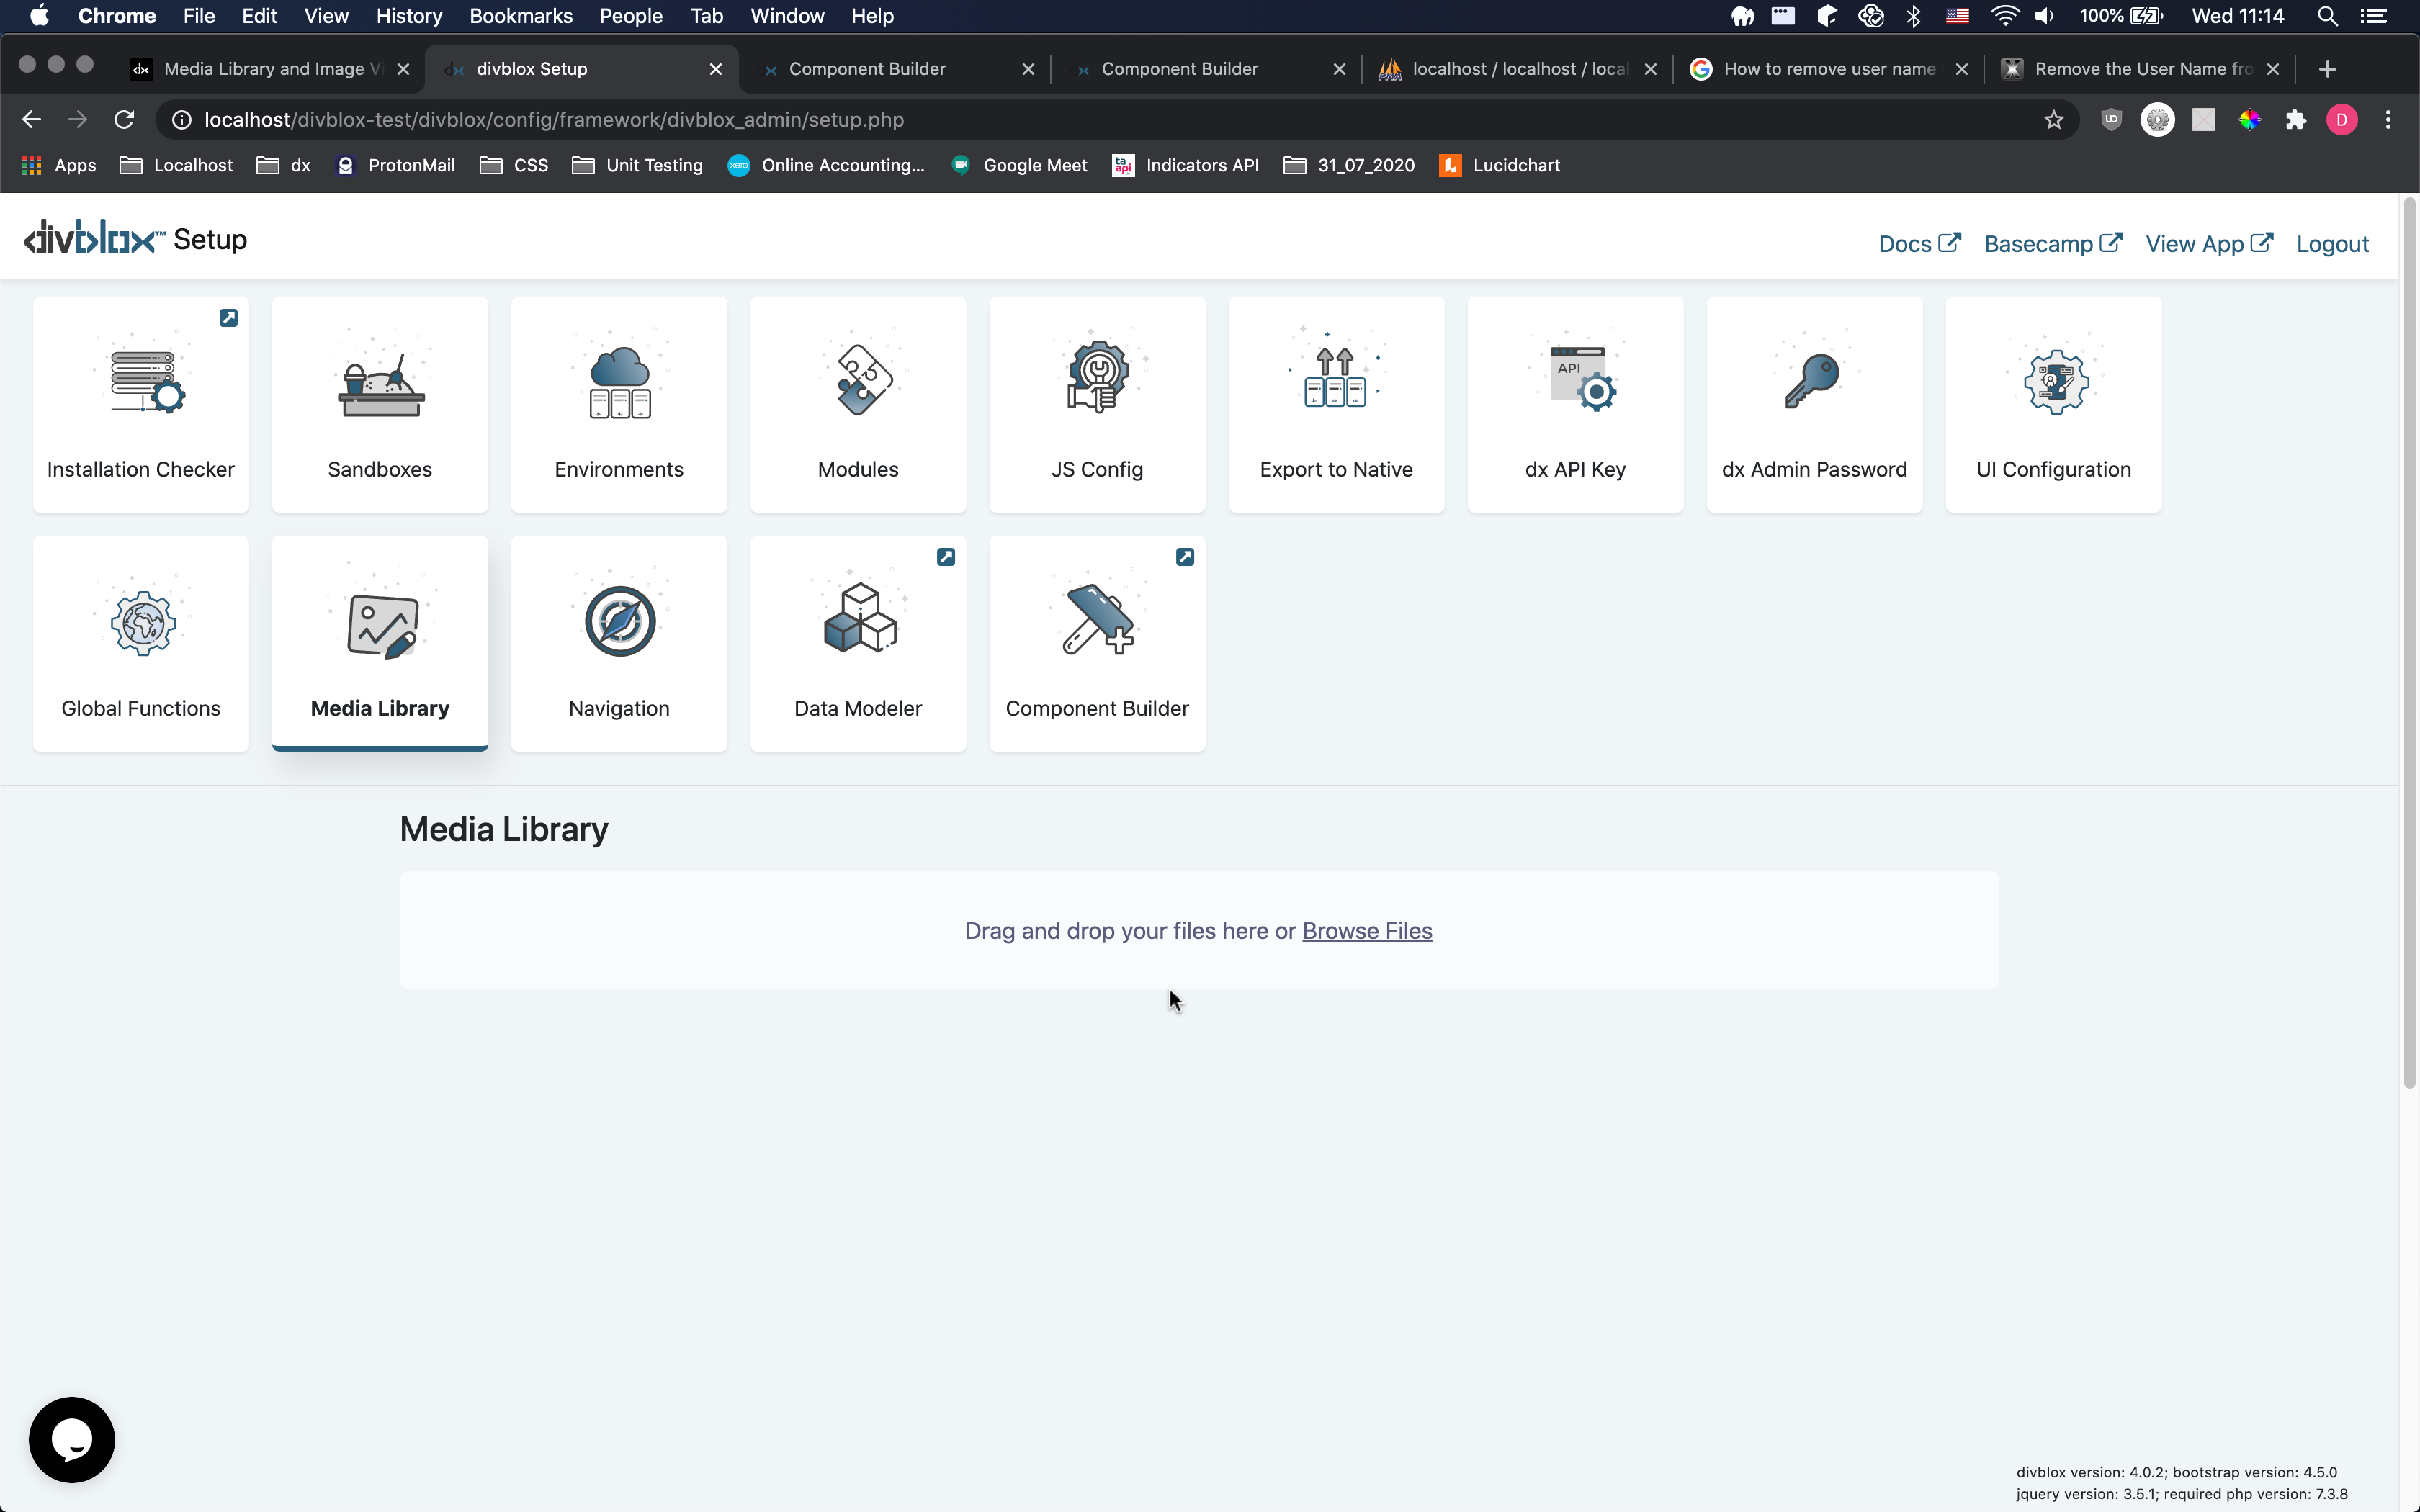
divbloxPHP allows you to handle all of your images from one place. This is done in the "Media Library" tab in the setup page, as show below.

There are three (maybe more, if you are creative) ways to add an image into your divbloxPHP page.
- Use a basic divbloxPHP component (Simple HMTL image tag) and fill in the necessary file path. This is perfectly fine for individual images here and there.
- Use the default image viewer component, and make sure to update the image path in the page's
reset()function. Note how we define the image viewer's UID so that we can call theupdateImage()function on it uniquely. (If you do not specify it, the UID will be a unique random string) - Use the default image viewer component, and pass it the relative image path as an input parameter i.e.
"arguments:{"image_path": "project/uploads/media/filename.png"}".
The page's component.js is given below.
Below is a video runthrough of the 3 suggested ways of using the media library and using images in your project.
Using the image viewer component may not make sense if you are adding images ad hoc, as it is simpler to just add it using plain HTML. If you would like to theme your images with consistent borders, sizing and shadows for example, using a single image viewer component to display all of your system images would save you a lot of time. The developer is encouraged to create a copy of the default image viewer and experiment with this.