1. Starting with a Sandbox
A divbloxPHP sandbox is a special type of deployment environment that is created and owned by Divblox. This environment runs on Divblox's servers and is accessible to the public. This environment can only be managed by the user that initiated it.
Below is a visualization of how to spin up a sandbox.


Initializing a new Sandbox
Creating a new sandbox is easy:
- Projects Page
- Create Project
- Sandbox
- Start by creating your project at basecamp.Divblox.com
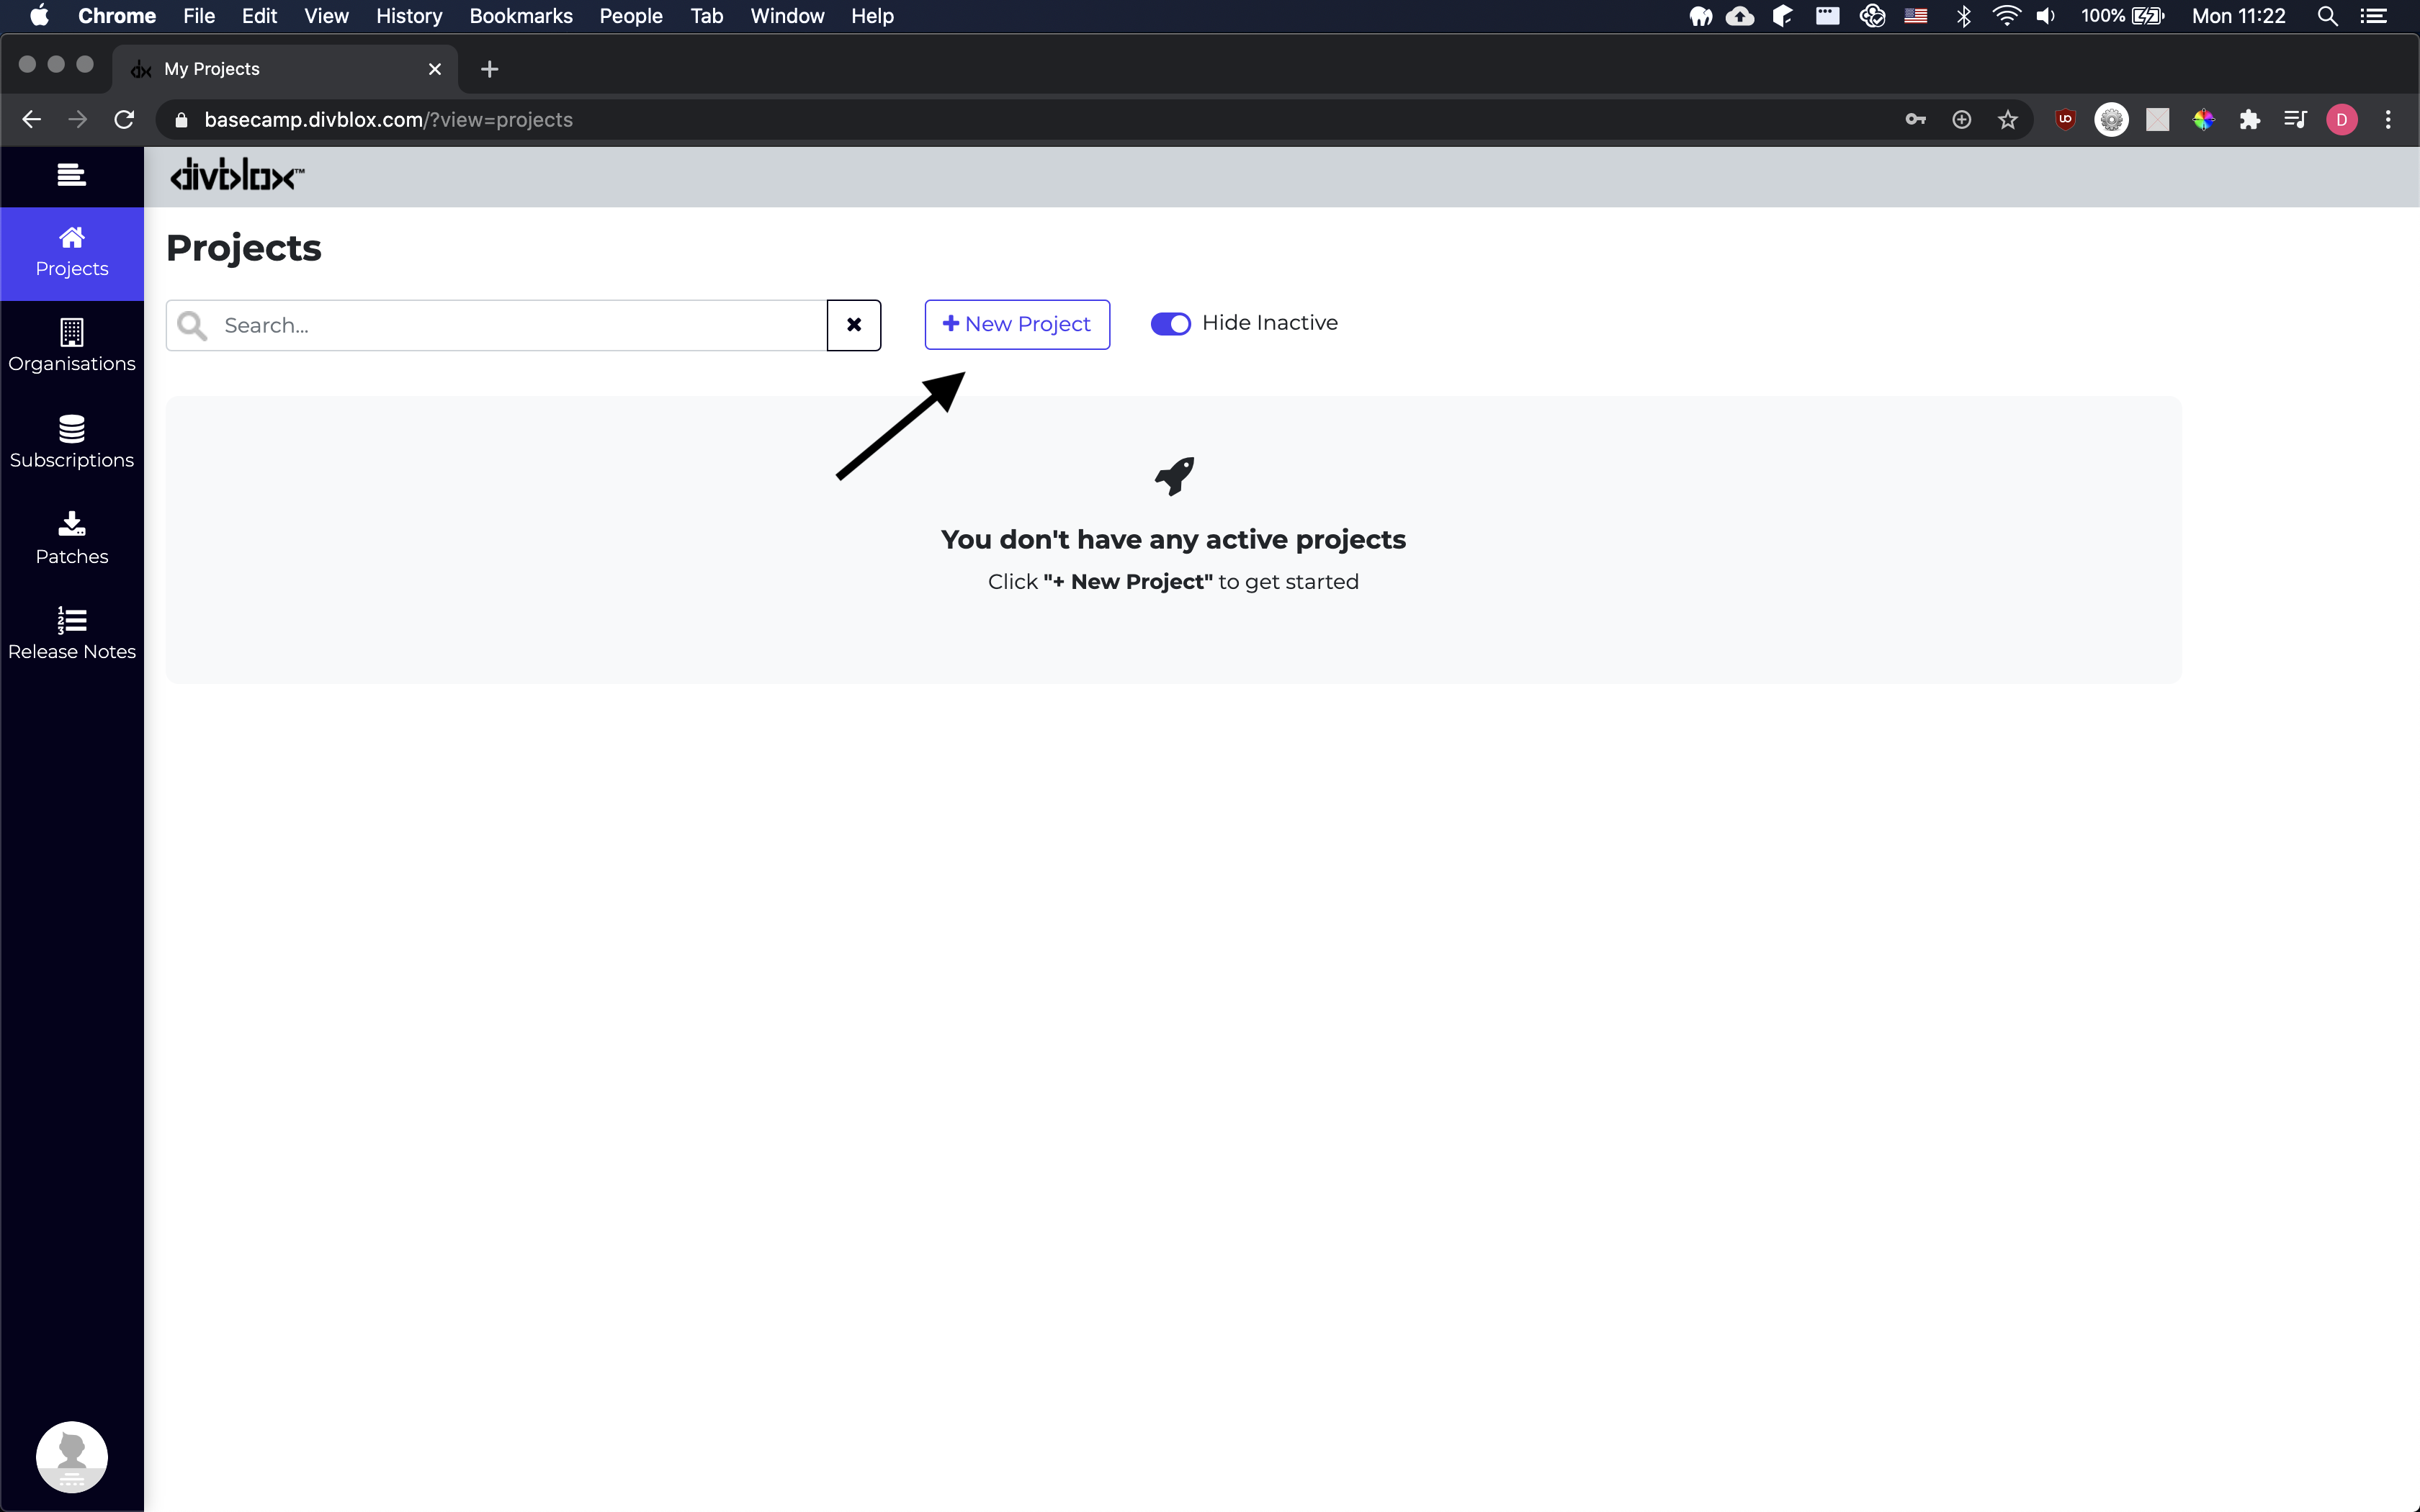
Downloading a Sandbox
Sandboxes are great for prototyping and even to deploy small projects, but if you are serious about your project, at some point you will need to download your sandbox progress and continue on a local development environment.
To download your sandbox, all you need is a local installation of divbloxPHP with your project's API key configured. From here you can click on the "Sandboxes" setup block to download your sandbox or deploy your local changes to your sandbox.
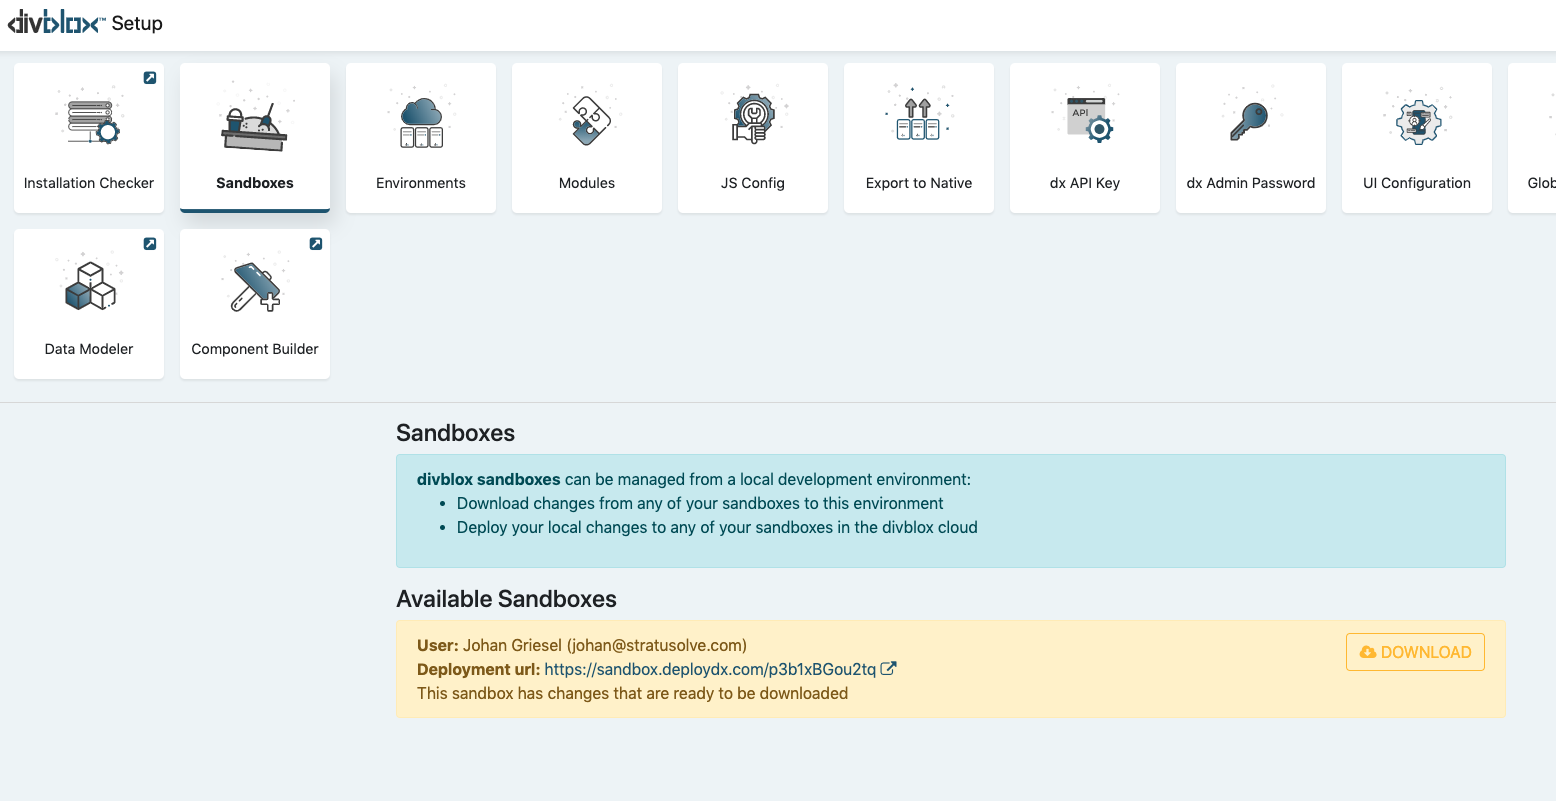
Sandboxes are controlled by your local deployment environments. This means that you can deploy to your sandboxes from any local deployment environment as well as download any changes that were made in your sandboxes to your local environments
Sandbox best practices
divbloxPHP makes it super easy to transfer content between your local deployment environments and your sandboxes, but this can also be risky. When downloading your sandbox to a local environment, always make sure that you have backed up your local project files. The following is a shortlist of tips to help you get the most out of sandboxes:
- Always make use of a code versioning service such as GitHub, GitLab or BitBucket
- When downloading sandbox changes to a local environment, make sure to do this in a feature branch which can be reviewed before merging with your master project branch.
- Re-initializing a sandbox every now and then can be a good idea to ensure data integrity.
- Make regular backups of your sandbox data through the Data Modeler "Data Export" tool