Troubleshooting
Because of the nature of web development, Divblox supports multiple operating systems. The recommended OS for Divblox development is MacOS, since it will allow for all functionality, including export to iOS, to function correctly. However, both Windows and Linux are also supported.
Most common issues
Browser cache
All of your Divblox app's assets (html, javascript & css files) will, by default, be cached by your browser. It is therefore important to take this into account when building new functionality. If something does not work the way you expect it to, the most common cause is that the old functionality was cached.
The easiest way around this is to have the browser's console open while developing and to disable caching through the options provided. It is also a good idea to always perform a cache-refresh when refreshing your page.
Browser console
Divblox makes use of the browser console to inform the developer of errors. Ensure that the browser console is open during installation and/or development to quickly diagnose the most common problems.
Installation checker
The installation checker might fail if you do not already have a database connection configured. If your minimum database requirements are not met according to the installation checker, please first configure your database settings before checking again.
Linux
Divblox makes use of code generation to create its components and ORM class files. This means that full write access is required in order for everything to work correctly. To avoid most of the common issues in this regard, ensure that the user that is used to run your web server has ownership and write permission for the Divblox folder.
Windows
Divblox was created on a UNIX based operating system and it is recommended that you use MacOS for the best experience when developing with the framework. However, we do try to support Windows as far as possible. The following are common issues users experience when setting up Divblox on Windows environments:
Basecamp communication error (SSL)
The installation wizard complains that the connection to basecamp cannot be established because of an SSL Certificate problem. Specifically: unable to get local issuer certificate. To solve this problem, follow these steps:
- Download cURL's cacert.pem certificate from the official cURL website here
- Save this cacert.pem file in your webserver's root folder, for example C:\MAMP\cacert.pem
- Update your php.ini file to tell cURL where to locate this certificate. Add the following to the bottom of your php.ini file:
Note, that your path may be different, depending on the webserver and path you chose to save the file.
- Next, you need to enable mod_ssl and php_openssl.dll. To enable mod_ssl, you can add the following to your Apache configuration file:
Note, that your path may be different, depending on the webserver. To enable php_openssl.dll, you will need to uncomment the following line in your php.ini file:
- Restart your webserver and refresh the Divblox installation checker to confirm that things are working now.
Lowercase table names
Divblox relies on code generation to create the ORM for you project. This generation is done, based on the tables in your database. If the tables in your database do not have case-sensitive names, the classes in the corresponding ORM might fail to work correctly. The installation checker will display the following error:
To solve this, open your mysql configuration file and add the following:
- Look for: # The MySQL server [mysqld] and add this right below it:
- Save the file and restart MySQL service
ionCube
When you open your Divblox project in the browser for the first time, you might encounter strange behaviour if ionCube has not been installed. Please follow these steps to install ionCube for your OS.
Sandboxes
Re-initializing a sandbox
You can re-initialize your sandbox at any time by simply removing it and initializing it again.
note
Important! This process removes ALL files and data from your sandbox
- Click the "Modify Project" icon to open your project
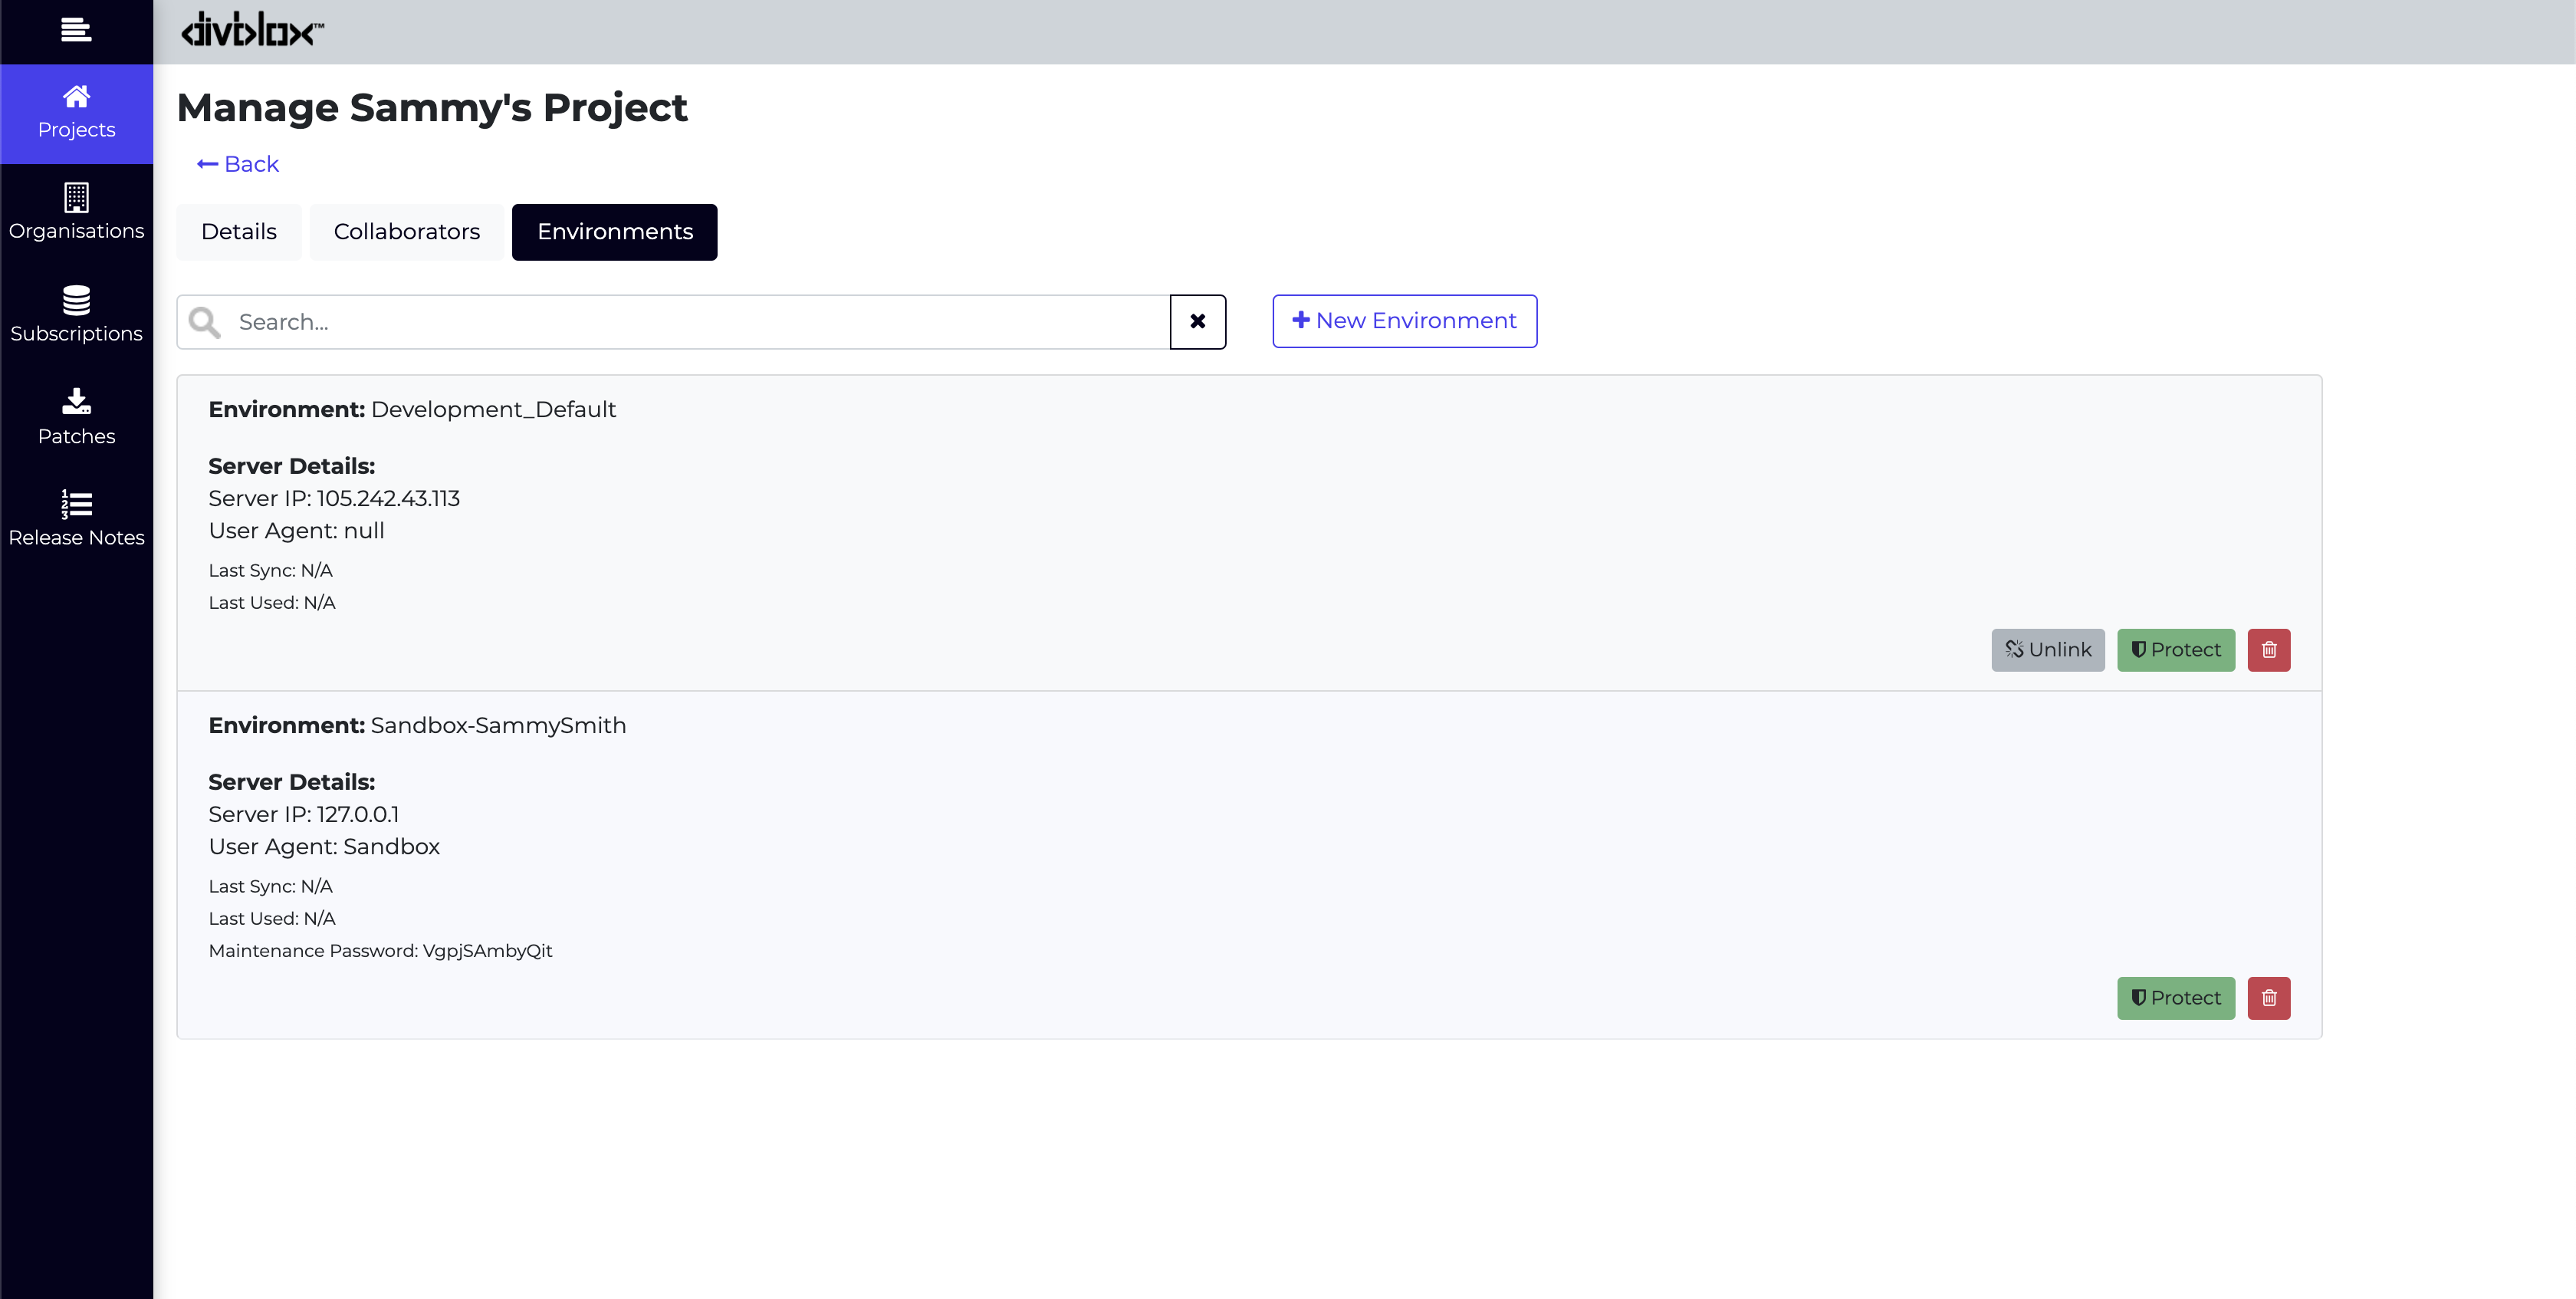
- Click the tab "Environments"
- Click the red trashcan to remove on your sandbox
- Follow the steps in Getting Started to initialize a new sandbox for your project